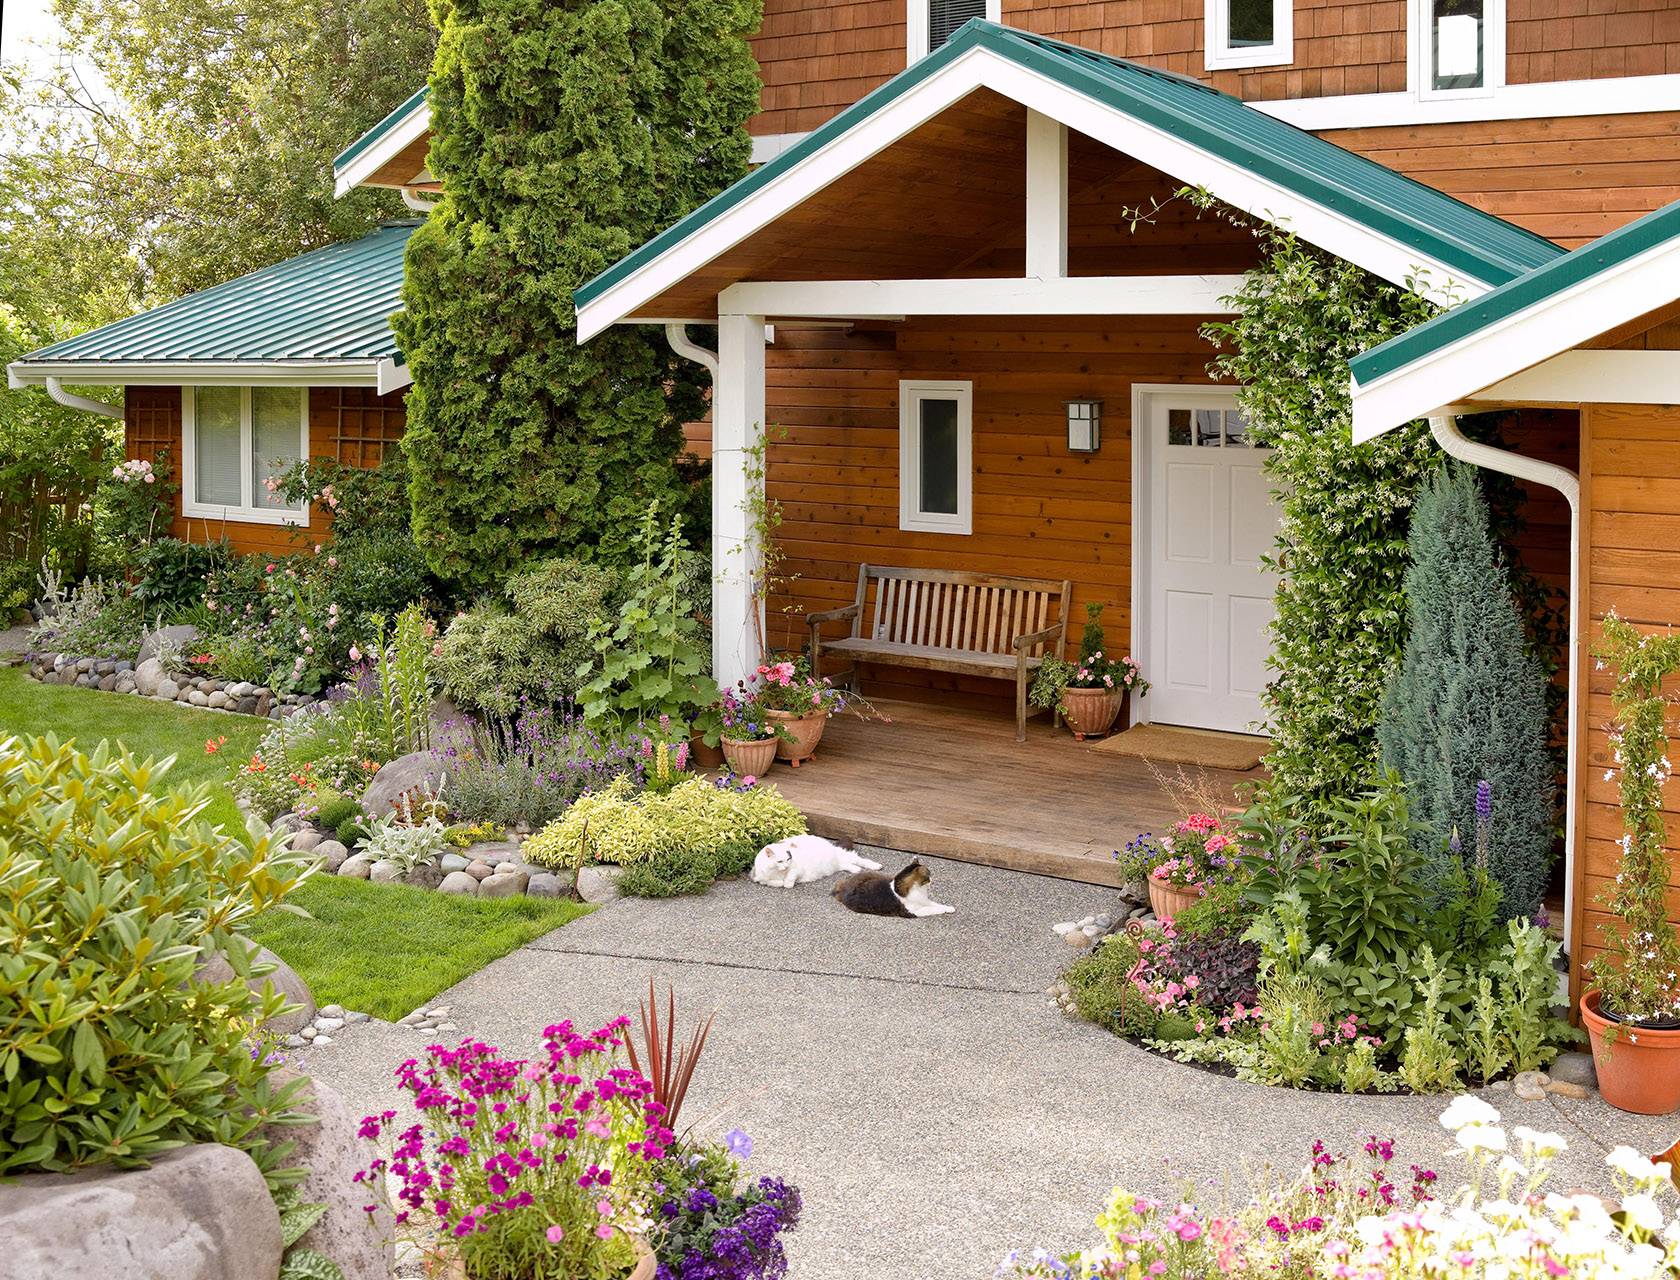
A daylily is a popular flowering plant. It belongs to the family Hemerocallidoideae, in the genus Hemerocallis. It doesn't look like an lily but gardeners have been selectively breeding different species for over a decade. Daylilies are an excellent choice for any garden. These flowers make great cut flowers.
Divide daylily flowers in the fall. To divide the daylily plant, first soak it in water to loosen the soil. After separating the roots, gently tap the root mass with a garden knife. Before digging, make sure you check for weed roots. After separating the daylily's roots from the soil, you can plant the clumps into the soil. After transplanting, mulch them to prevent weeds and keep the soil moist.
Preparation is key when planting daylilies. The soil should be loose enough to allow roots to grow as deep as 18 inches. It should be free from rocks and other debris. If your soil is sandy, you can add compost. It will retain water and lighten heavy clay soil. This will help the roots develop. After the plants are established in their new homes, you can place them wherever you like.
To grow daylilies, you need to plant them at least 12 inches apart, in a well-drained soil. You can use a container or pot depending on which variety you choose. When transplanting the roots, ensure that you water them well until they become established. They will need three to four years to bloom. Daylilies can be a fantastic choice if your business is trading.
Daylilies in Minnesota do well when planted at a suitable time. Daylilies must be deadheaded before they can be planted. When a daylily blooms, you can cut off the stem and divide it between two plants. Remember to be careful when you divide a daylily. While a division may seem like an unnecessary task, it is necessary to avoid damage to the plant's roots.
Daylily planting requires digging a hole with a shovel. The soil should be level with the crown of the flower below ground level. The soil should be level with the crown of the flower below the ground. Place the tubers in the hole. Divide the roots into small pieces to get the best results. You can also make a clump with daylilies.
Once the daylilies have been divided into two parts, you can begin to dig them. You will need to take care not to overdo the planting. After you have dug the soil, you will need to break it up into smaller pieces. Next, you will need to separate the roots into two groups. The daylily roots should then be planted one by one, taking care to not damage any roots or smooth the soil.
FAQ
What month is the best time to start a garden?
It is best to plant vegetables between April and June. This is the best time to plant vegetables. The soil is warmer and plants grow faster. If you live outside of a warm climate, you might be better off waiting until July or August.
How can I find out what type of soil my house has?
You can tell by looking at the color of the dirt. Organic matter is more abundant in dark soils than those with lighter colors. A second option is soil testing. These tests determine the amount of nutrients in the soil.
Do I have to purchase special equipment in order to grow vegetables on my own?
Non, really. All you need to do is use a shovel, trowels, watering containers, and maybe even a rake.
Statistics
- According to a survey from the National Gardening Association, upward of 18 million novice gardeners have picked up a shovel since 2020. (wsj.com)
- Today, 80 percent of all corn grown in North America is from GMO seed that is planted and sprayed with Roundup. - parkseed.com
- As the price of fruit and vegetables is expected to rise by 8% after Brexit, the idea of growing your own is now better than ever. (countryliving.com)
- According to the National Gardening Association, the average family with a garden spends $70 on their crops—but they grow an estimated $600 worth of veggies! - blog.nationwide.com
External Links
How To
Basil Growing Tips
Basil is one among the most versatile herbs you could use in your kitchen. Basil is great for flavoring foods, including soups, sauces and pastas. Here are some tips to grow basil indoors.
-
It is important to choose the right location. Basil is an evergreen plant. If it's not located in the right area, it will only last one season. Basil likes full sunlight but can be tolerant of partial shade. If you are growing it outside, choose a spot with good air circulation.
-
Plant the seeds. Basil seeds should not be planted more than two weeks prior to the last frost date. In small pots with potting mixture, sow seeds about 1/2 inch deep. Wrap the pots with clear plastic and place them in a sunny area. Germination usually takes about ten days. After they have germinated move them into a cool, shaded place where the temperature stays around 70 degrees Fahrenheit.
-
Once the seedlings are big enough to handle, transplant them. Take off the plastic wrap and transfer the seedlings to larger containers. Each container should be filled with potting mix. To help remove excess moisture, add gravel or pebbles. As necessary, you can add more potting material. The containers should be placed in a sunny location or under indirect lighting. Mist the plants daily to prevent wilting.
-
After the dangers of frost have passed, mulch the plants. This will protect them from cold weather and reduce water loss.
-
You should water your plants often. Basil requires regular watering in order to thrive. You can use a rain gauge or a water gauge to determine the amount of water that your plants need. Also, use a timer to turn off the irrigation system during dry spells automatically.
-
When your basil reaches its peak, pick it. For bushier growth, pick leaves more often.
-
Use paper towels or screens to dry the leaves. Keep the dried leaves in glass containers or bags in a refrigerator.