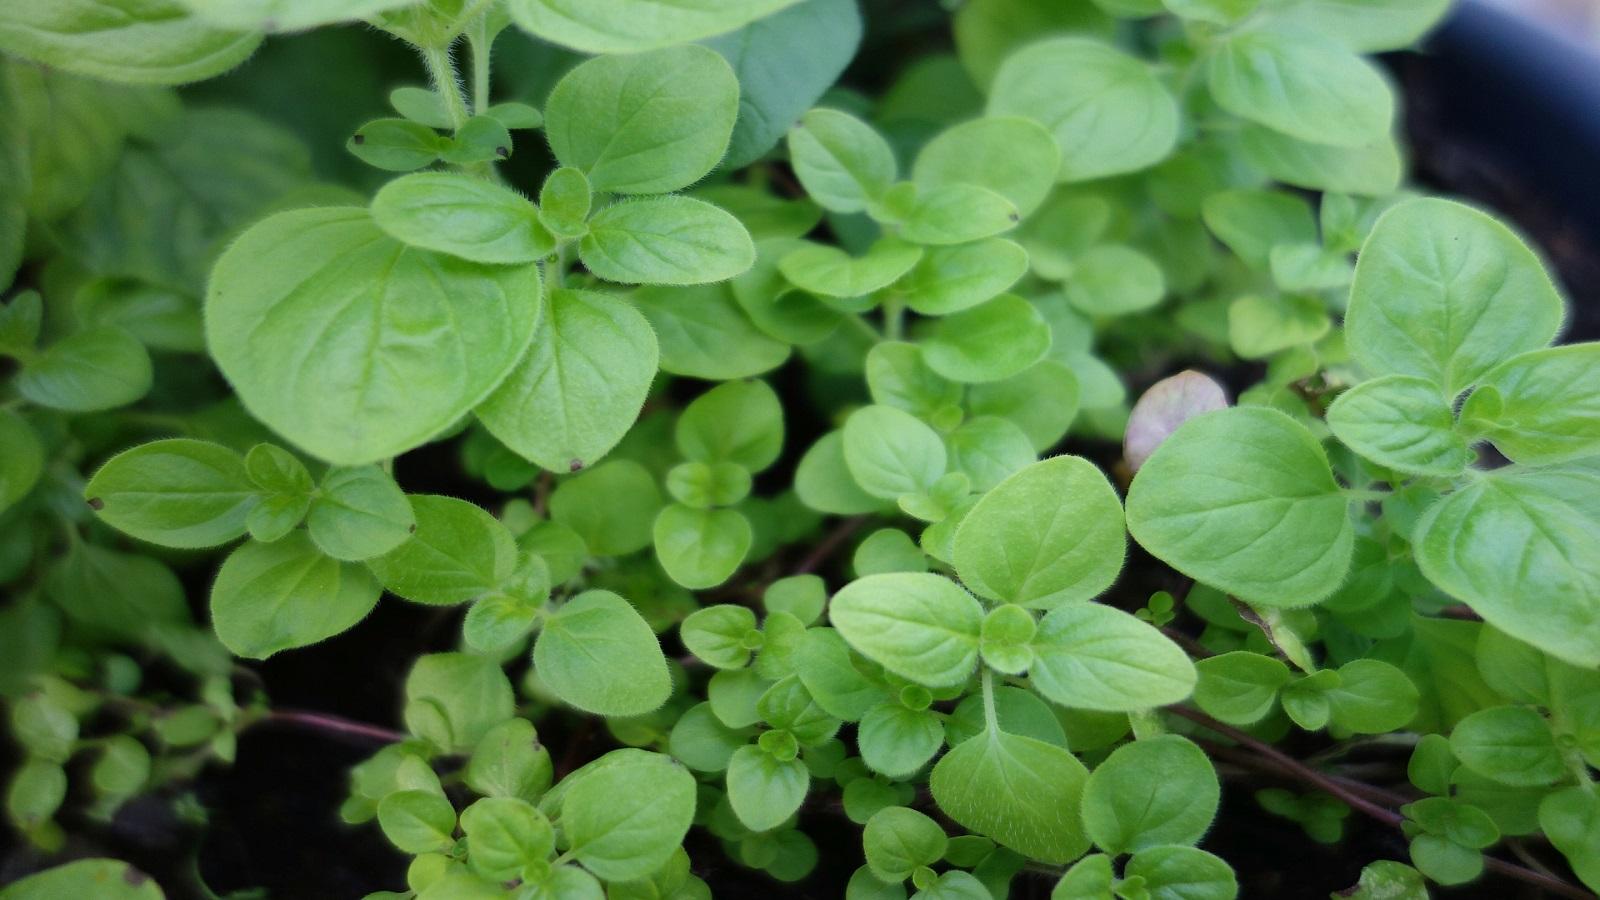
There are a few things to keep in mind when you're growing microgreens. These plants need to have a pH between 5 and 6. First, ensure your growing pad has been saturated. Then, mist it ten more times before you sprinkle the seeds. After this, sprinkle the seeds onto the growing pads. For smaller varieties, 2 tablespoons can be used. A quarter cup is sufficient.
If you have the right knowledge, you can grow your own microgreens. Ted Chang teaches you how to grow his microgreens in punnets made of recycled strawberry liners. They do not require a backyard or green thumb to grow them. Even your kitchen window sills could be used! You shouldn't expect them to grow fast. You can always try other varieties if you're not sure.
The nutrient must be rich enough that it provides adequate nutrients to plants. You need to ensure that the nutrient solution contains all the necessary micronutrients for the growth of your microgreens. This is the best way for microgreens to grow. You can also use a mat to grow microgreens if you don't feel comfortable handling containers. Microgreens don't require heavy soil. You can cover your pots with plastic wrap, to keep them moist.
These tips will make growing microgreens easy. The microgreens are generally ready to harvest in 10 to 14 days, though some varieties may be ready earlier. Regardless, it's a good idea to keep your growing tray as cool as possible. For the first few days, you can keep the compostable trays out of direct sunlight if you are using them. You can also store the microgreens in the refrigerator.
Easy and safe, you can grow your own microgreens. Microgreens contain all of the nutrients necessary for your body to be healthy. They can be grown on your rooftop or windowsill. It is very simple. You can also hire a professional to assist you if you aren't confident in the growth of your greens. You'll enjoy delicious, nutritious microgreens as a healthy addition to your daily diet.
In addition to being nutritious, microgreens are also extremely portable. Because of their small size, these plants can be packed in lunches easily. Microgreens are a great option if you want to quickly get your daily supply of fresh vegetables. Just remember to choose nutritious seeds and follow the directions on the package. Don't forget about enjoying your new crop. If you don't grow microgreens yet, think about starting a company with these healthy crops. This may be a great idea for a startup business.
A microgreens-growing business is a great way for retired people to make money and keep the world fed. Not only will you see results in a matter of days, but your microgreens could also grow very quickly. Arugula and other microgreen crops include celery, cabbages, endive, mustard, celery, celery, celery, celry, cabbage, endive and radish. Microgreens are an excellent way to make a living as a retired person. You can also plant your own heirlooms.
FAQ
What's the difference between aquaponic and hydroponic gardening?
Hydroponic gardening uses nutrients-rich water to feed plants. Aquaponics uses fish tanks to grow plants. Aquaponics is like having your own farm in your home.
What should you do first when you start a garden?
When beginning a garden, the first thing to do is to prepare the soil. This includes adding organic material such as composted horse manure, grass clippings or leaves, straw and the like, which provides plant nutrients. Next, place seeds or seedlings in prepared holes. Finally, water thoroughly.
What is the best way to determine what kind of soil I have?
It is easy to tell the difference by the color of your dirt. More organic matter is found in darker soils than in lighter soils. You can also do soil tests. These tests measure the number of nutrients present in the soil.
What is a planting schedule?
A planting calendar lists the plants that should all be planted at various times during the year. The goal is for plants to grow at their best while minimizing stress. Early spring crops like spinach, lettuce, and peas must be sow after the last frost date. Cucumbers, squash, and spring beans are later crops. Fall crops include potatoes, carrots, broccoli, cauliflower and broccoli.
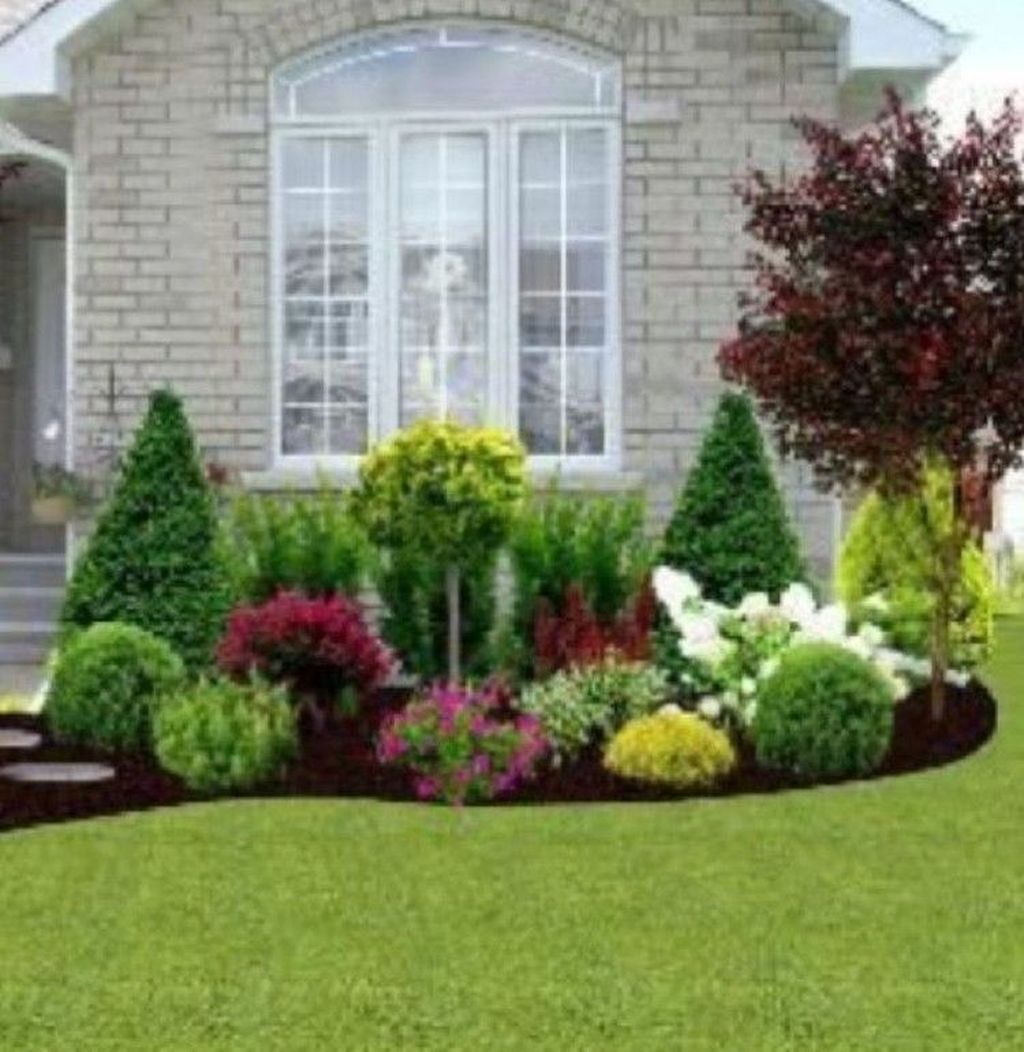
When should you plant flowers?
Planting flowers in spring is easier when the temperature is lower and the soil remains moist. If you live in colder climates, it is best to plant flowers after the first frost. The ideal temperature for growing plants indoors is around 60 degrees Fahrenheit.
Statistics
- It will likely be ready if a seedling has between 3 and 4 true leaves. (gilmour.com)
- According to the National Gardening Association, the average family with a garden spends $70 on their crops—but they grow an estimated $600 worth of veggies! - blog.nationwide.com
- As the price of fruit and vegetables is expected to rise by 8% after Brexit, the idea of growing your own is now better than ever. (countryliving.com)
- Most tomatoes and peppers will take 6-8 weeks to reach transplant size so plan according to your climate! - ufseeds.com
External Links
How To
How to plant tomatoes
How to plant tomatoes? You can grow tomatoes in your container or garden. To grow tomatoes, you need patience, love, and knowledge. There are many varieties of tomato plants available online or in your local store. Some varieties require special soil, while others do not. The most common type of tomato plant is a bush tomato, which grows from a small ball at its base. It is very productive and easy to grow. Buy a starter set if you are interested in growing tomatoes. These kits are sold in nurseries or gardening shops. They contain everything you need to get started.
There are three main steps when planting tomatoes:
-
Pick a place where you want them to be placed.
-
Prepare the ground. This includes digging up dirt, removing stones, weeds and the like.
-
Place the seeds directly onto the prepared ground. Water thoroughly after placing the seedlings.
-
Wait until they sprout. Then water again and wait for the first leaves to appear.
-
The stems should be able to reach 1 cm (0.42 inches) before being transplanted into larger pots.
-
Continue to water every single day.
-
When they're fully ripe you should harvest the fruits.
-
Fresh tomatoes can be eaten right away, or stored in the fridge.
-
Repeat this process each year.
-
Before you start, make sure to read the instructions.
-
Have fun growing your tomatoes!