We'll be sharing a list of 30 tools that professional gardeners use each day in this article.
We have selected our top 30 gardening tools based on their popularity in the trade, as well as taking into account what we consider to be the most valuable.
- Hand Fork
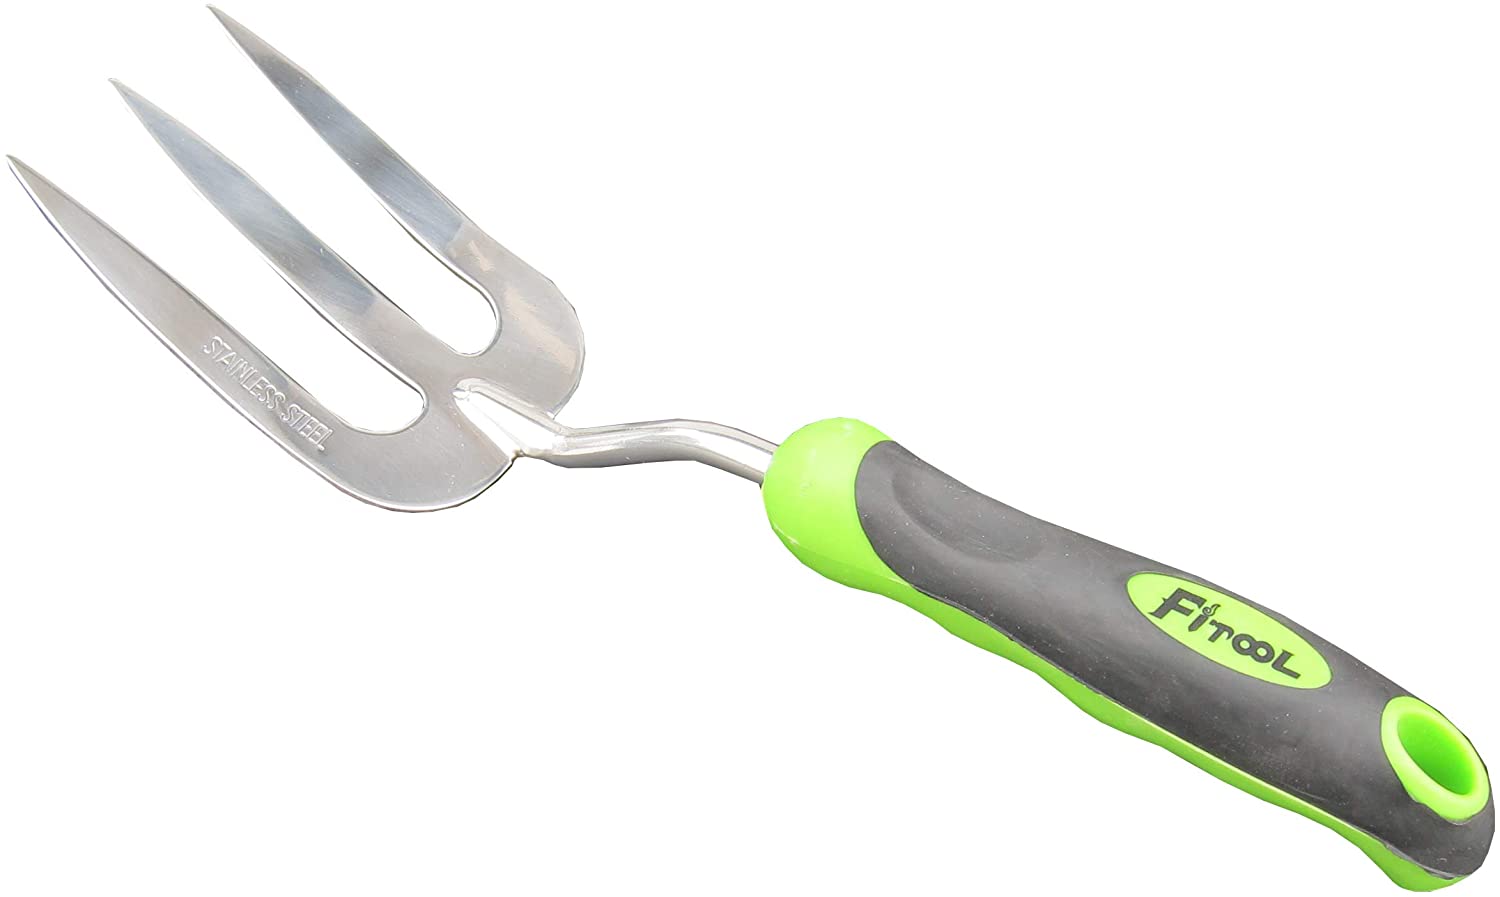
The small, hand-held fork is useful in weeding between closely planted border plants.
Get your hand fork on Amazon.
- Bulb Planter
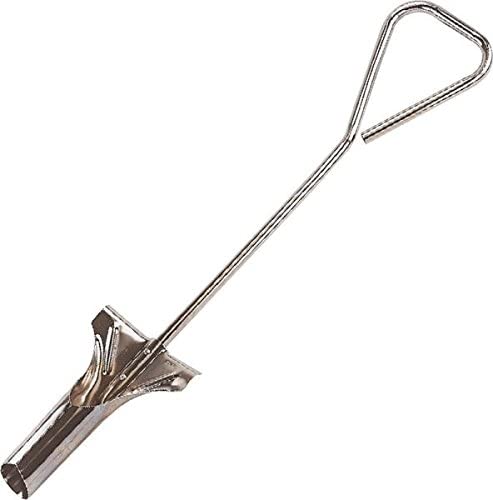
This sturdy stainless steel tool, which is ideal for planting bulbs, is a must-have. The sturdy stainless steel blade has a long life expectancy. The Eva grip provides comfort and control.
Get your BulbPlanter on Amazon.
- Sun Hat
The garden cap protects your skin from the sun. It features a large brim with tie chin strap and is made out of lightweight materials. It's a must-have tool when you garden in spring or summer to protect your skin from the damaging UV rays.
Get your sun hat on Amazon.
- Hoe
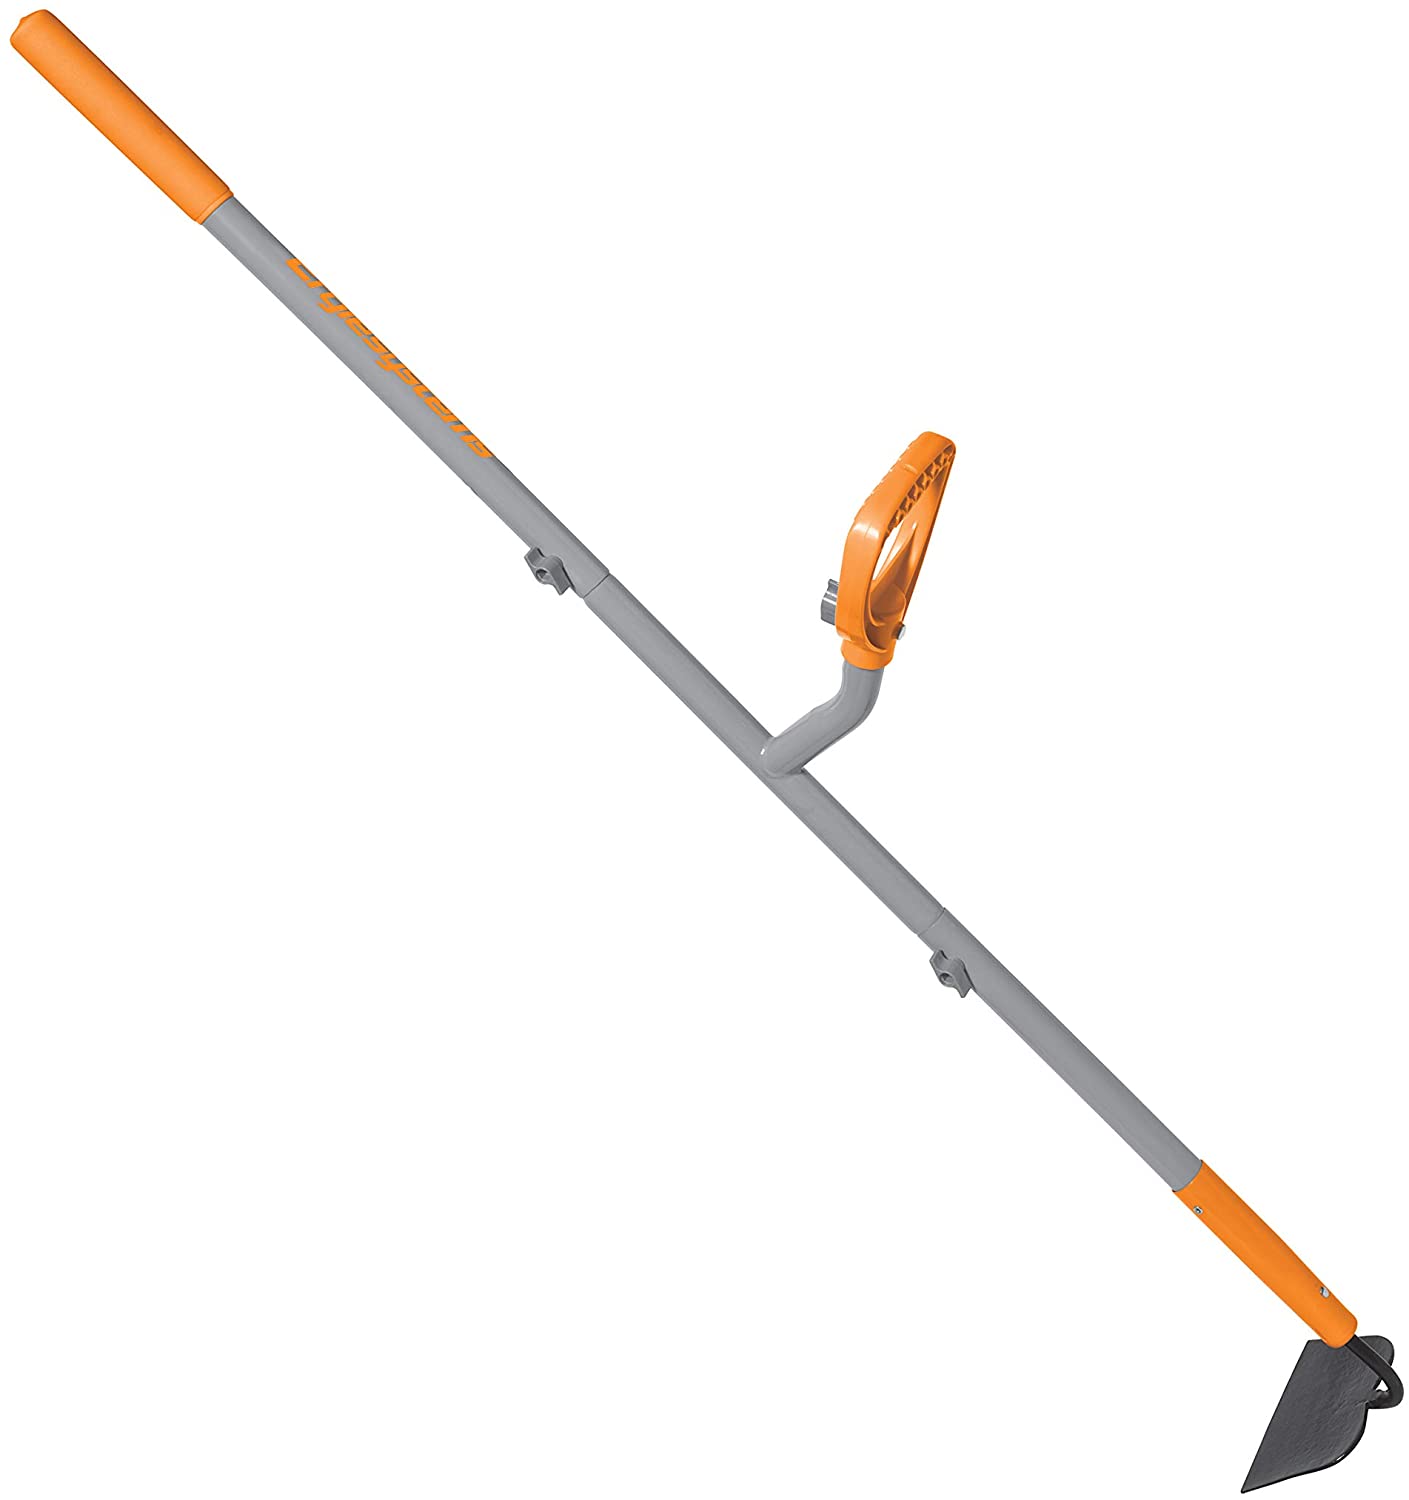
This tool is for weeding between rows. However you might need to use the fork to loosen soil.
Get your Hoe on Amazon.
- Secateurs
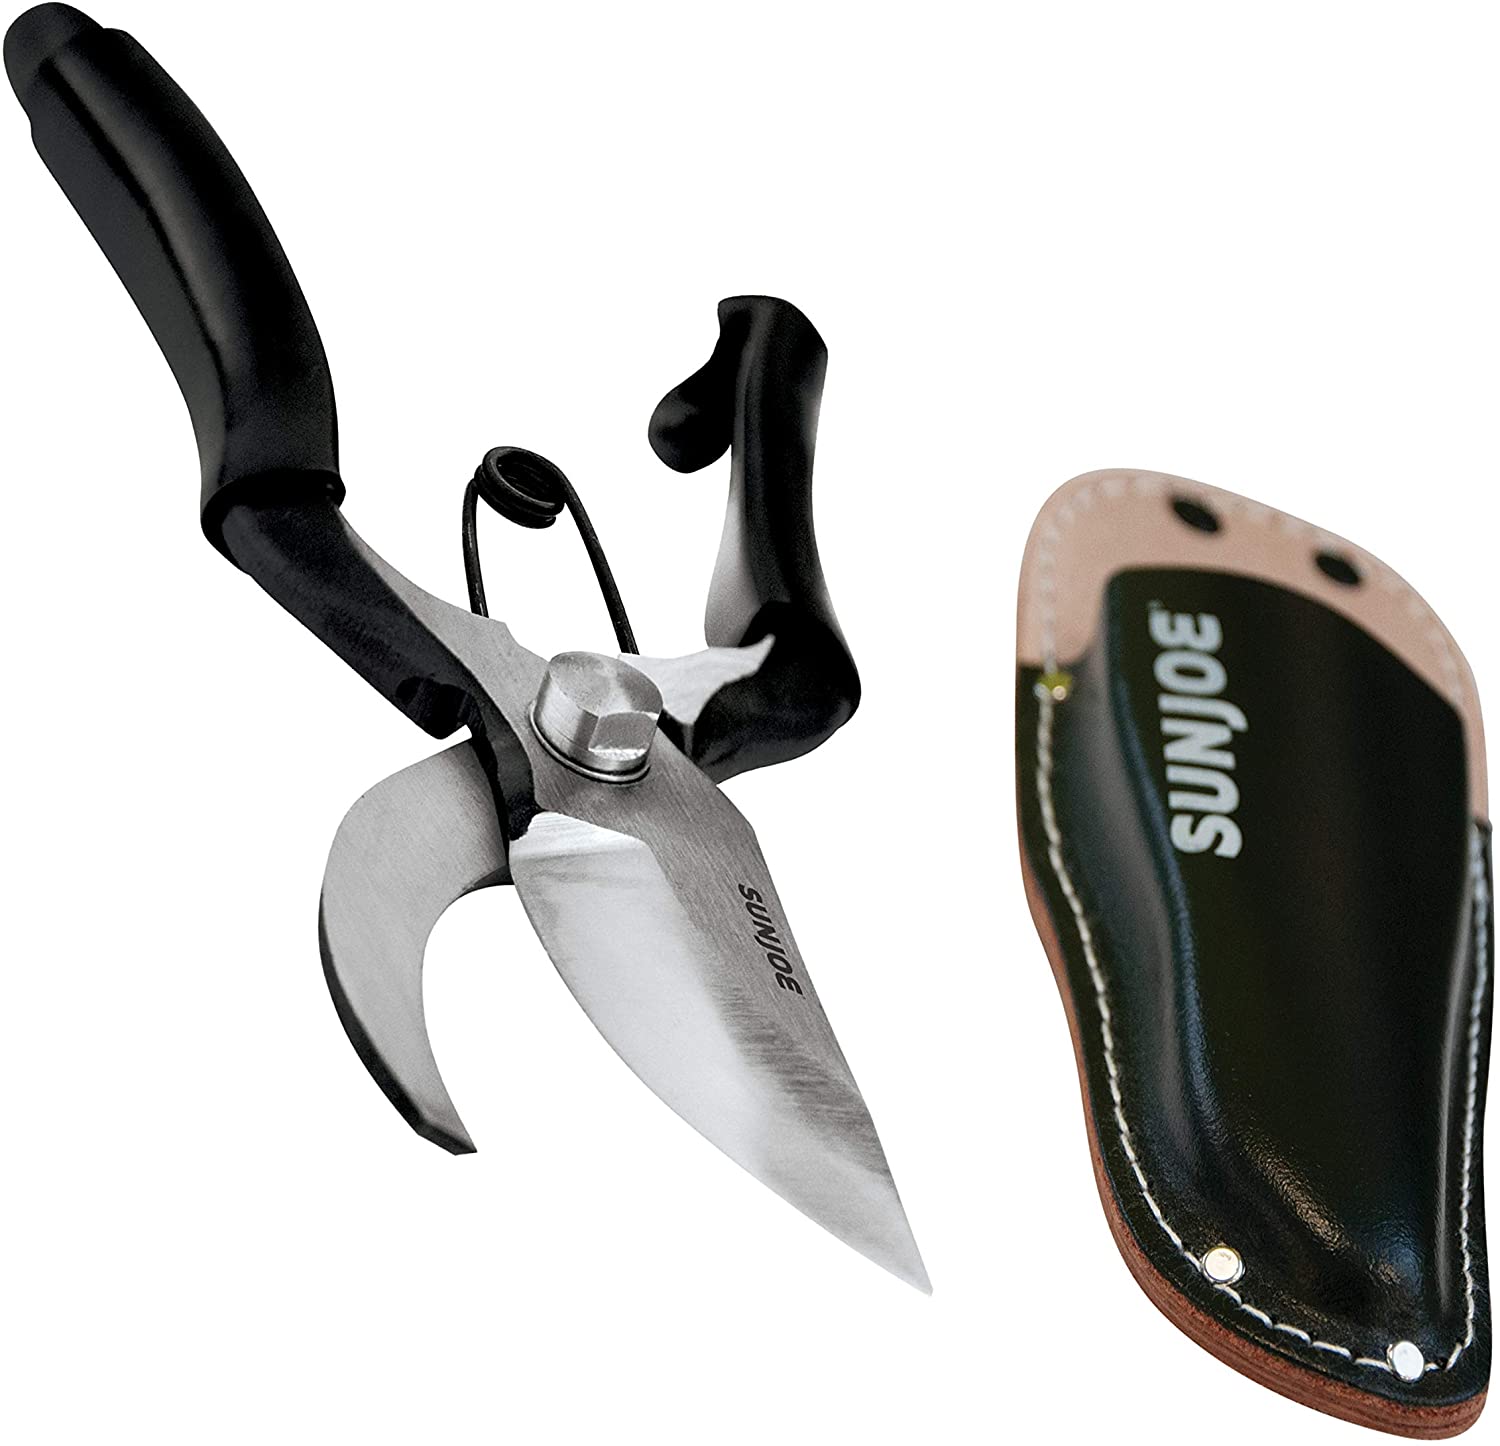
Very popular with professional gardeners, these tools prune and deadhead flowering plants such as roses.
The serrated blades of some examples help to remove woody perennials such a lavender after the flowers have fallen. The blades of secateurs may become blunt over time, which can lead to a decrease in the overall strength of the tool.
Get your secateurs on Amazon.
- Garden Gloves
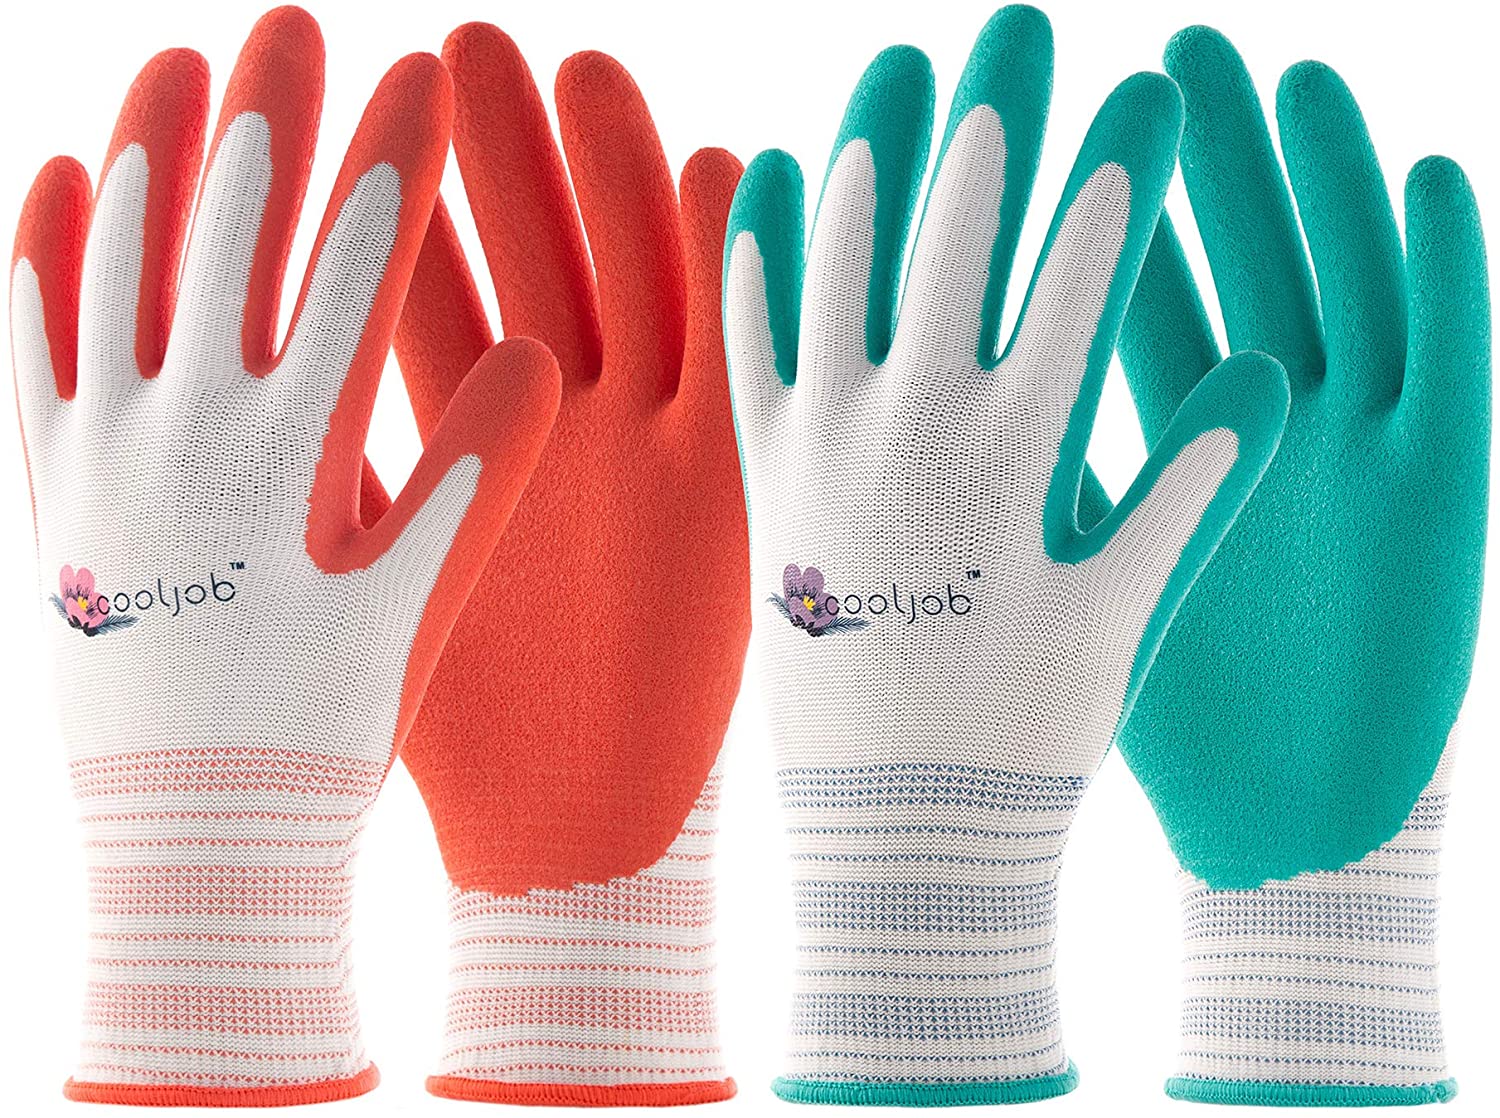
Some gardeners prefer gloves to avoid thorns and other nettles. However, it can be difficult to manage plants if they are covered by thorns.
Get your Garden Gloves on Amazon.
- Hand Weeding Removal Tool

The hand weed remover tool is lightweight and easy to use. It allows you to pull weeds out of the ground without damaging their roots. It has a hook that allows you scoop out soil between plants.
Get your hand weed removal tool on Amazon.
- Watering Can
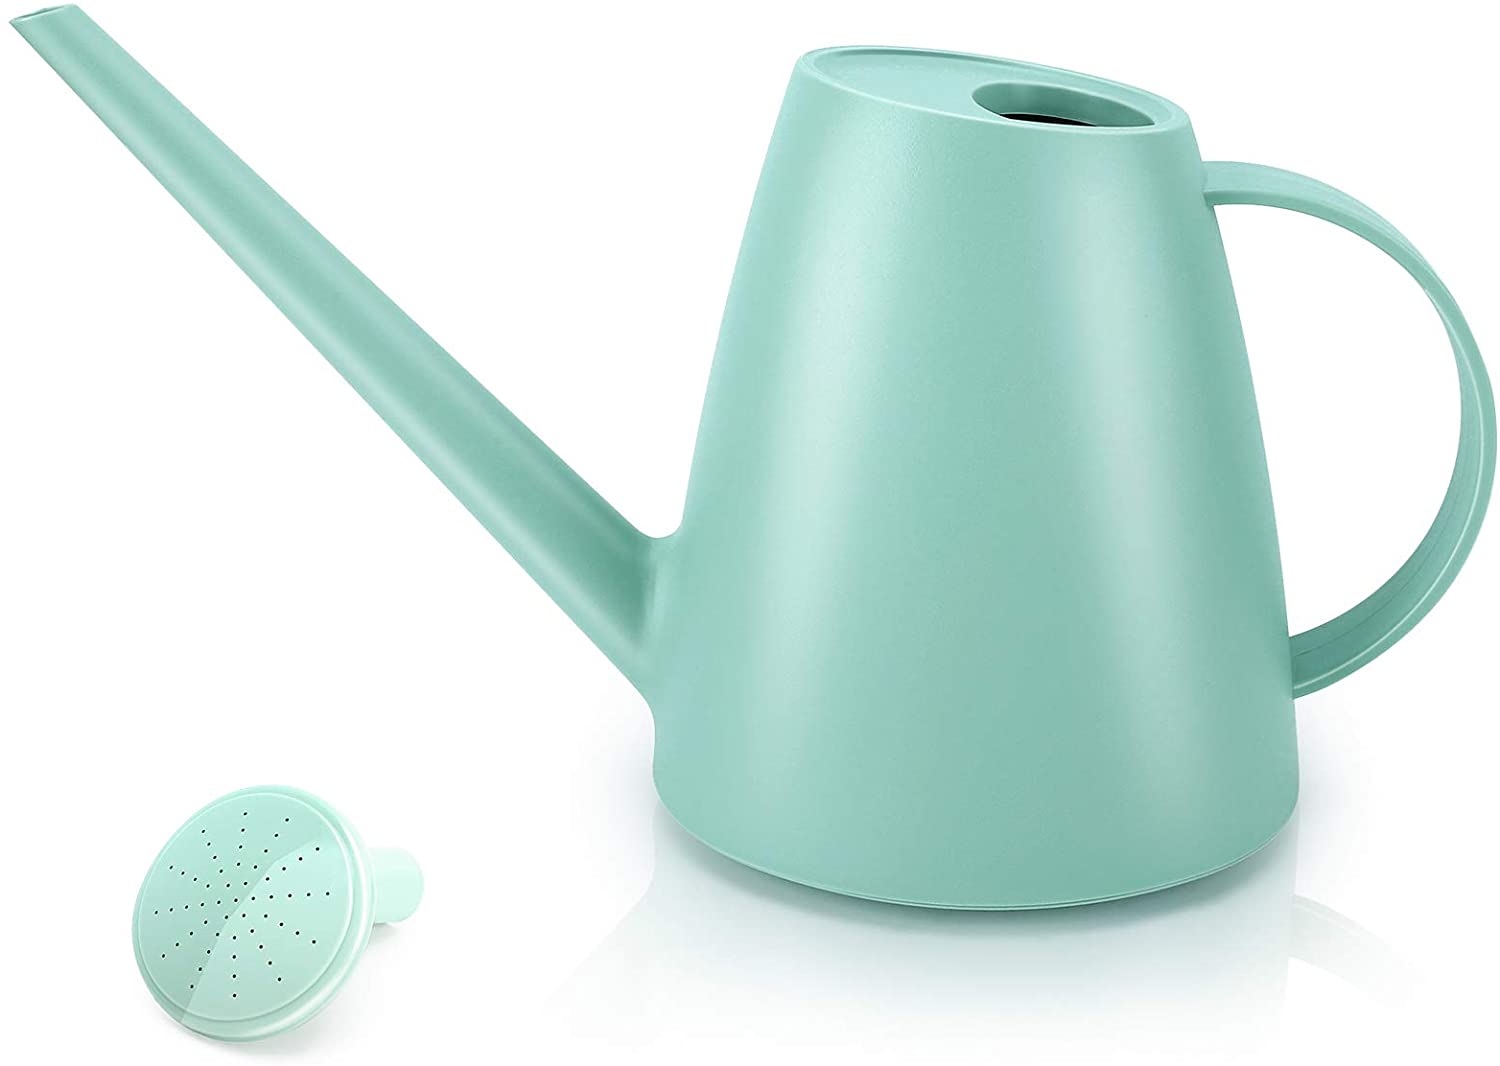
A large capacity watering can is essential for watering lawns and borders. There are many options for top quality watering cans. Some are equipped with brass rose heads, which give you even coverage when they're used in hanging baskets or window box applications.
Get your Watering Can on Amazon.
- Rake
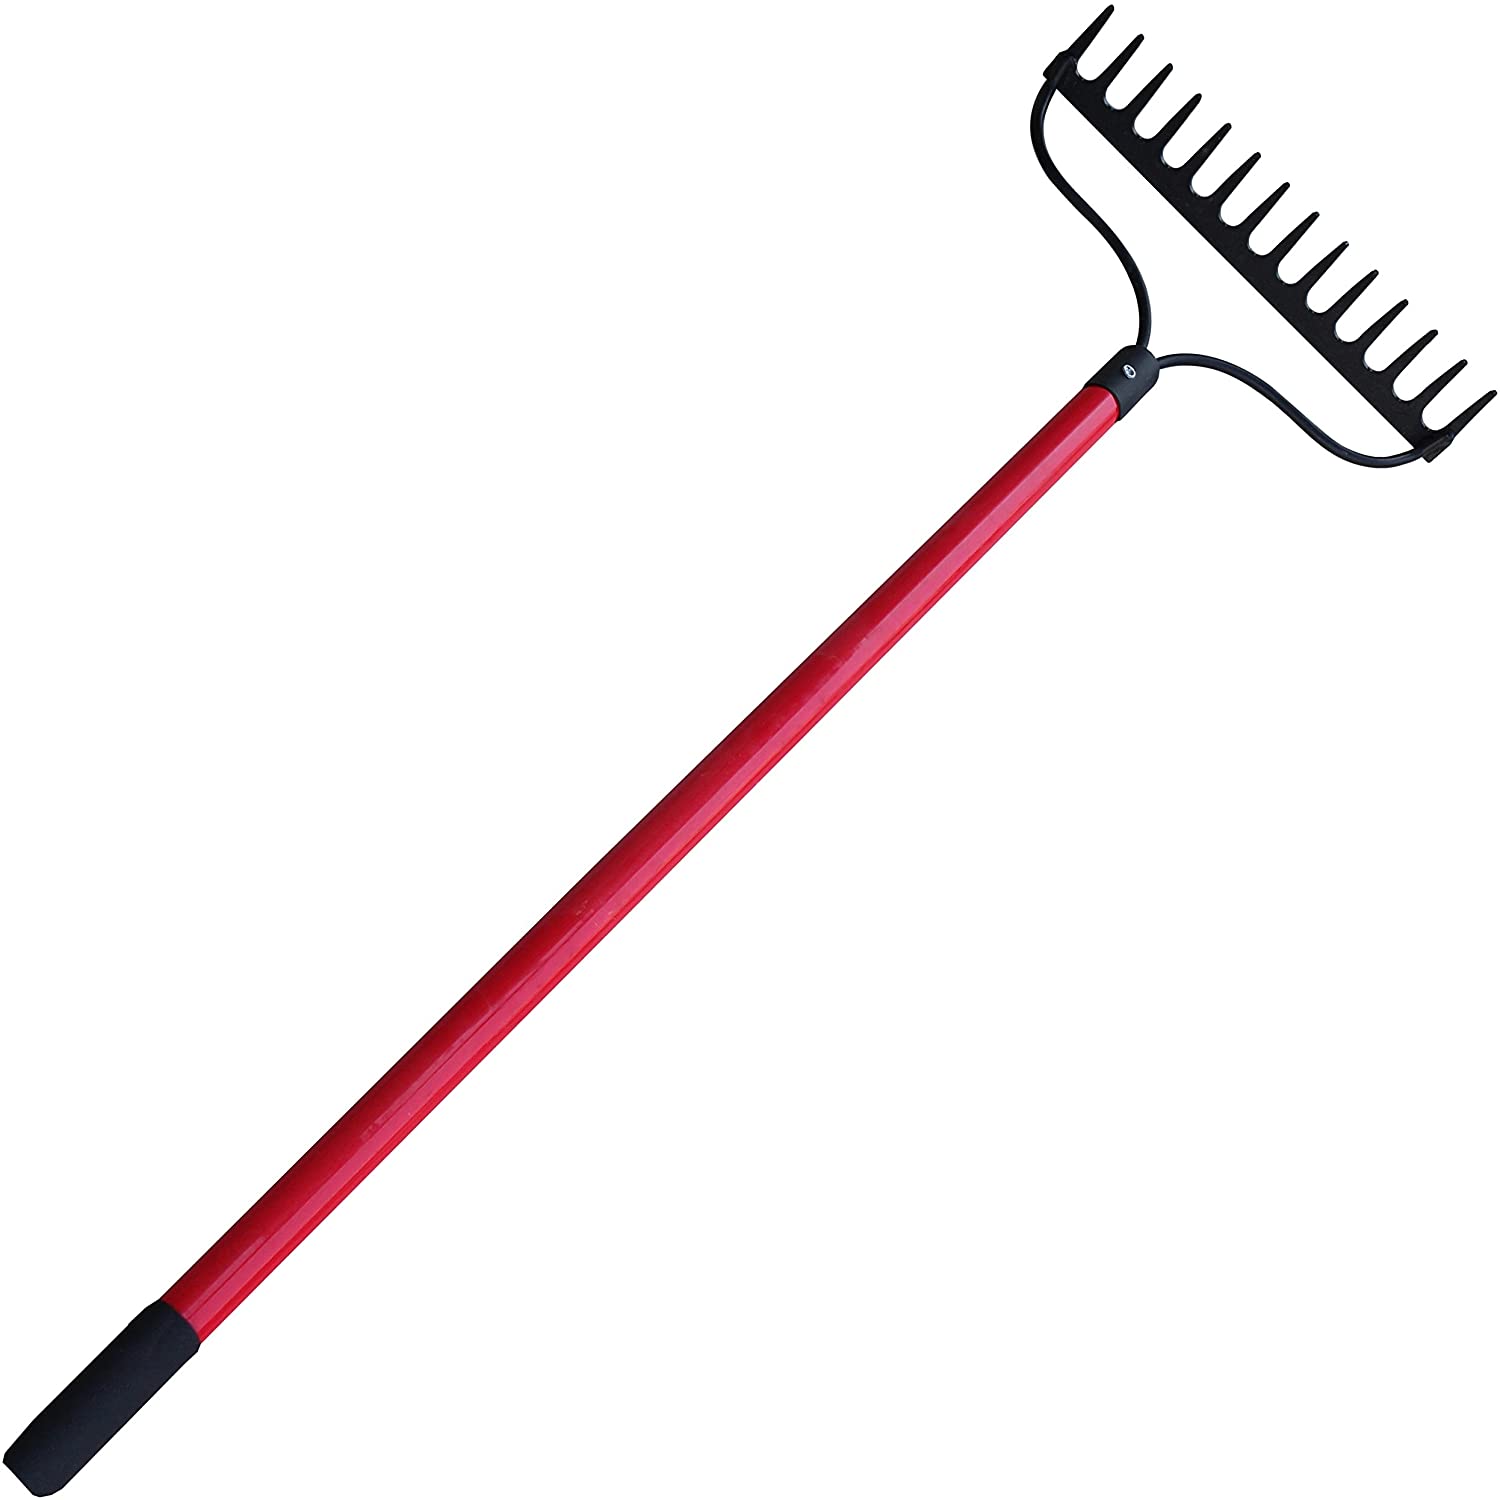
A rake equipped with long, flexible plastic or wood tines will be especially helpful for digging into the soil and removing dead stems.
Get your Rake on Amazon.
- Bucket
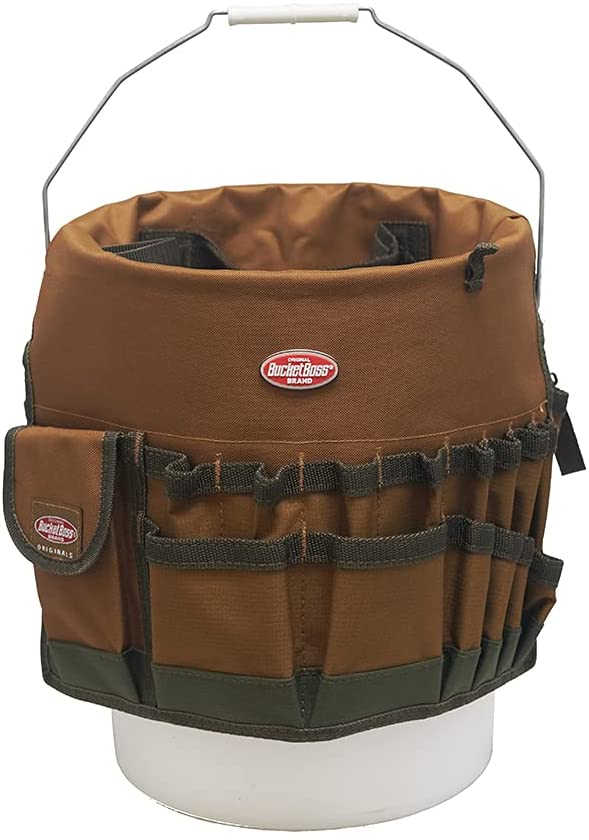
A large bucket can be handy for transporting plants or other gardening chores.
Get your bucket on Amazon.
- Leaf Rake
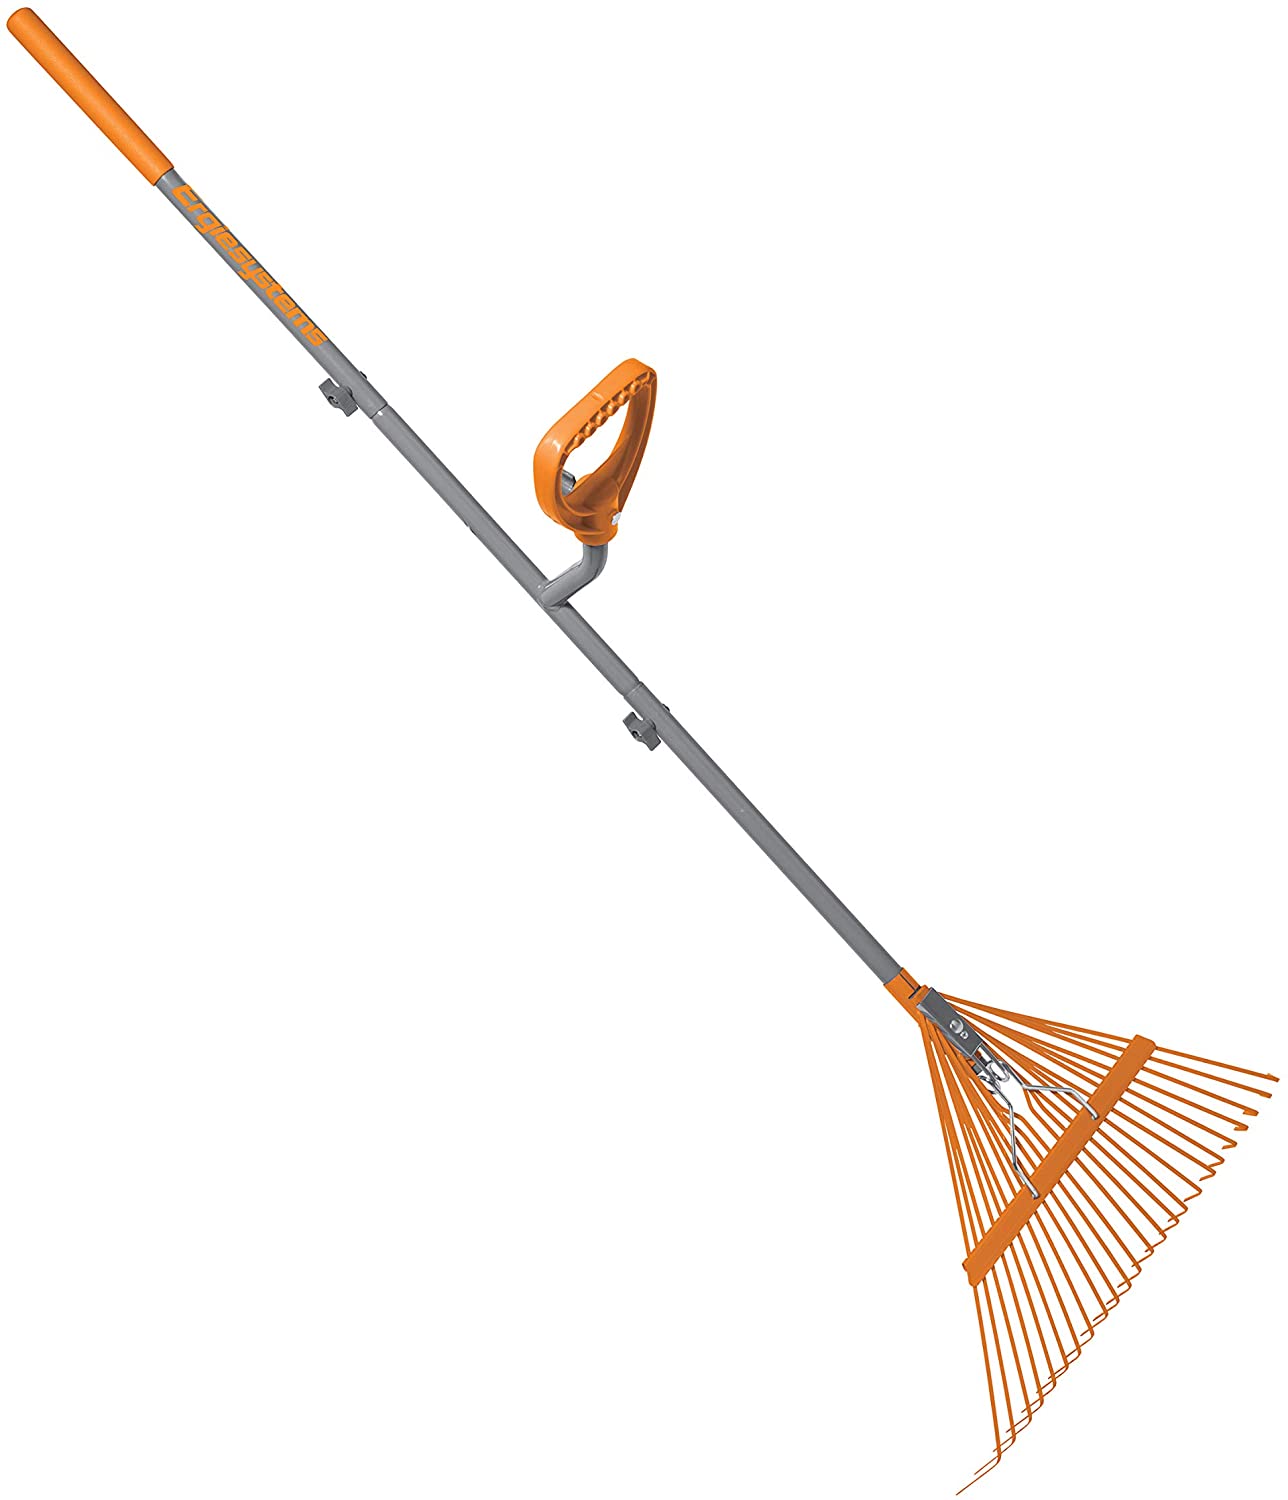
Leaf rakes are used to remove leaves and other debris from the lawn. They also help with raking leaves between shrubs or border plants.
Get your Leaf Rake on Amazon.
Conclusion paragraph: We hope you enjoyed our list of the best garden tools all gardeners need. Please share your favorite garden tools in the comments! What caught your interest? We'd love to hear from you and make it a topic for a blog post or article. In the meantime, enjoy yourself outside to catch some sun before winter sets in!
FAQ
When to plant flowers
Spring is the best season to plant flowers. It is when the temperatures are warmer and the soil is still moist. If you live in a cold area, plant flowers only after the first frost. The ideal temperature for indoor plants is around 60 degrees Fahrenheit.
Can I grow vegetables in my backyard?
You might be wondering if you have enough space to grow a vegetable garden if you don't have one. The answer is yes. A vegetable garden doesn't take up much space at all. It only takes some planning. For example, you could build raised beds only 6 inches high. You could also use containers to replace raised beds. You will still get plenty of produce regardless of how you do it.
How do you prepare the soil?
Preparing soil to grow vegetables is very simple. First, you should remove all weeds around the area where you want to plant vegetables. Add organic matter such as leaves, composted manure or grass clippings, straw, wood chips, and then water. Let the plants grow by watering well.
What should you do first when you start a garden?
Preparing the soil is the most important step in starting a garden. This includes adding organic matter like composted cow manure, grass clippings leaves, straw, and so on, which will help to provide plant nutrients. Next, you will plant your seeds or seedlings directly into the prepared holes. Finally, water thoroughly.
What is the minimum space required to grow vegetables?
It is best to remember that 1/2 pound of seed will be required for every square foot. For example, if you have a 10 foot by 10 foot area (3 meters by three meters), 100 pounds of seeds will be required.
Statistics
- It will likely be ready if a seedling has between 3 and 4 true leaves. (gilmour.com)
- According to a survey from the National Gardening Association, upward of 18 million novice gardeners have picked up a shovel since 2020. (wsj.com)
- Most tomatoes and peppers will take 6-8 weeks to reach transplant size so plan according to your climate! - ufseeds.com
- 80% of residents spent a lifetime as large-scale farmers (or working on farms) using many chemicals believed to be cancerous today. (acountrygirlslife.com)
External Links
How To
How to grow basil
Basil is one herb you can use to make many different dishes in your kitchen. Basil is great to add flavor to dishes, sauces or pastas. These are some great tips to grow basil indoors.
-
Carefully choose your location. Basil is an annual and will not live more than one season if it isn't in the right spot. Basil likes full sunlight but can be tolerant of partial shade. It is best to grow it outdoors in an area with good air circulation.
-
Plant the seeds. Basil seeds should be planted two weeks before the last frost date. Place the seeds 1/2 inch deep into small pots containing potting mix. Place the pots in clear plastic wrap. Keep them out of direct sunlight. Germination takes approximately ten days. Once they are germinated, transfer them to a protected area where the temperatures are at 70 degrees Fahrenheit.
-
Once they are large enough to handle, transfer the seedlings. Place the seedlings in larger containers and remove the plastic wrap. Pour the potting mix into each container. Add gravel or pebbles to drain excess moisture. Add more potting mix as needed. The containers should be placed in a sunny location or under indirect lighting. Mist the plants regularly to keep them from wilting.
-
After the dangers of frost have passed, mulch the plants. This will protect them from cold weather and reduce water loss.
-
Regularly water the plants. Basil requires regular watering in order to thrive. You can use a rain gauge or a water gauge to determine the amount of water that your plants need. Use a timer to automatically turn off irrigation during dry spells.
-
Take your basil out at the peak of its life. To encourage bushier growth, pick the leaves often.
-
Use paper towels or screens to dry the leaves. Dry the leaves in glass jars and bags in the fridge.